DJI Mavic 3 MAPIR Survey3
Dual 2 Camera Mount
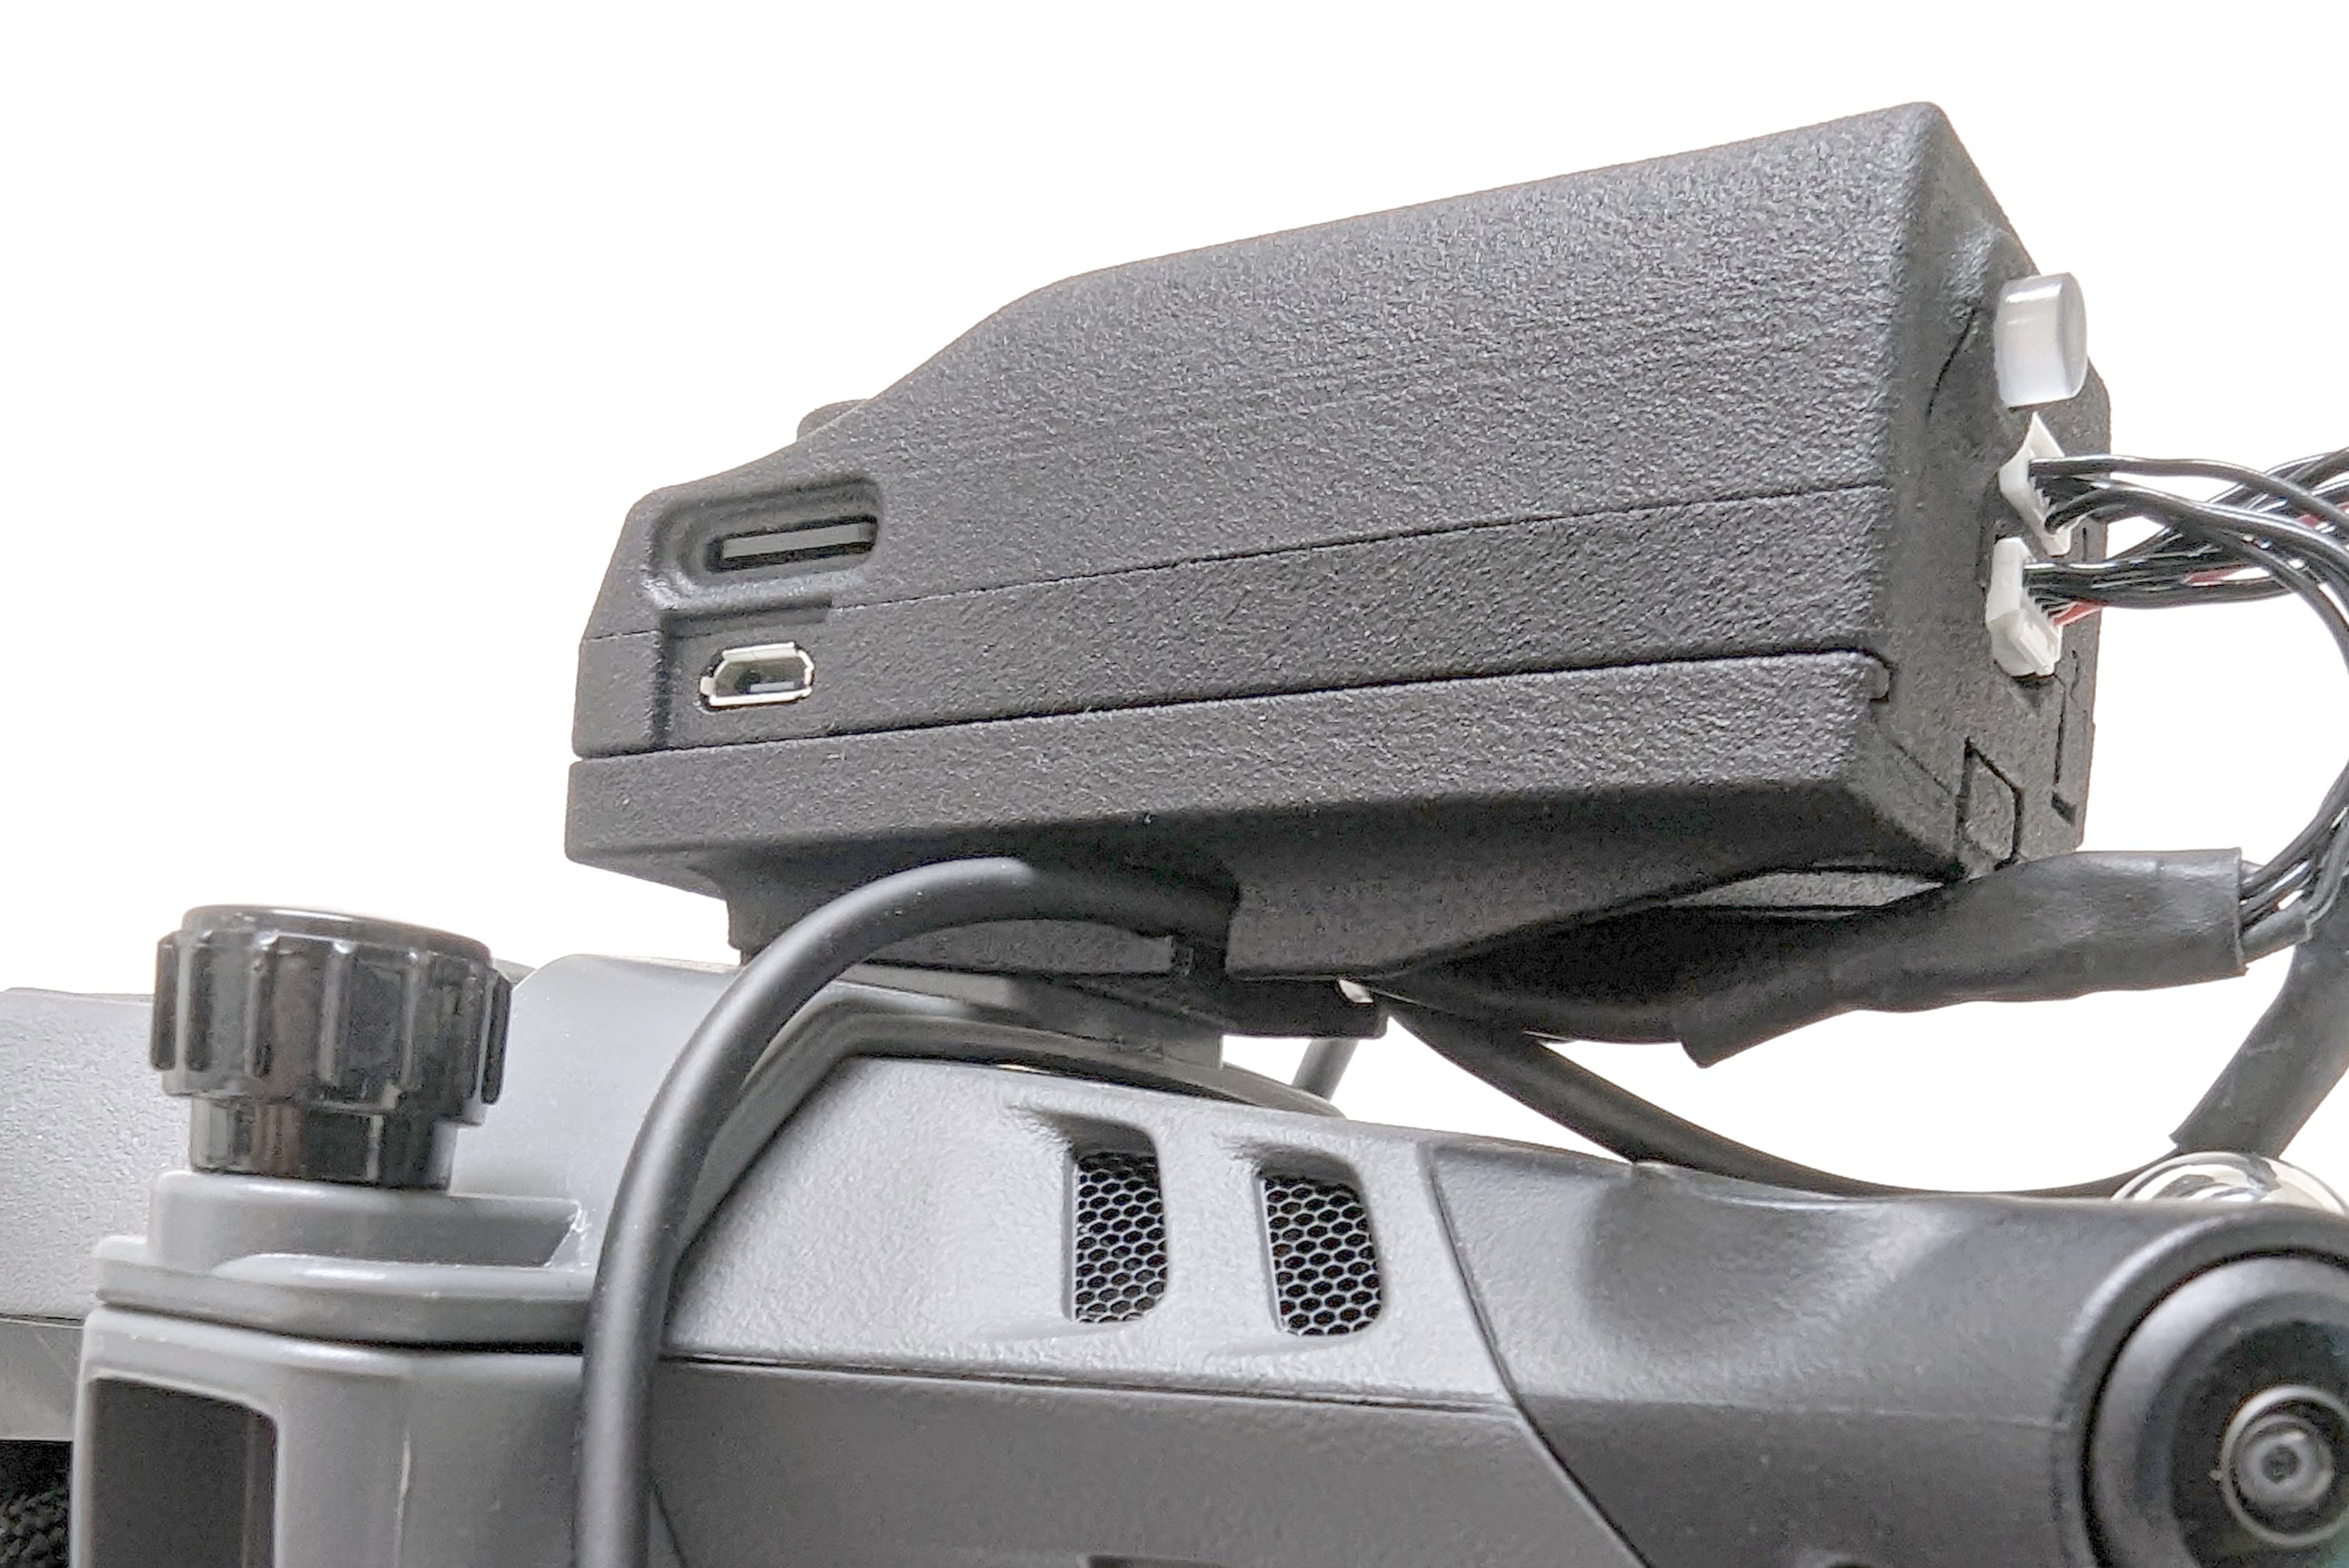
This drone vehicle camera mount allows you to easily attach multiple Survey3 cameras securely to a DJI Mavic 3 drone while keeping the original drone camera installed (and unobstructed). The cameras are mounted close to the drone's center of gravity and are clear of the propellers when correctly installed. Both cameras can be rotated and locked securely using set screws. There is no electrical or signal connection between the drone and the cameras.
All DJI Mavic 3 models are supported:
- Mavic 3 Classic
- Mavic 3
- Mavic 3 Cine
- Mavic 3 Pro
- Mavic 3E
- Mavic 3T
- Mavic 3M
For Mavic 3 Enterprise (3E, 3T, 3M) vehicles the top Enterprise PSDK port is fully usable with this camera mount attached. So the DJI Mavic 3 RTK module is compatible while using our mount.
A single thumb screw securely attaches the mount to the vehicle, and allows you to attach up to 2 Survey3 cameras. No tools are required to install and remove this mount. Quickly remove our mount from the vehicle by unscrewing the thumb knob and undoing one of the cables going to the cameras (when using 2 cameras). You do not need to remove the cameras or top mount, you can leave it all assembled.
This mount allows you to rotate the cameras 360 degrees to orient them parallel with the ground while flying forward. Lock the camera mount rotation using the included allen keys to tighten the set screws. A typical tilt angle is 10-15 degrees when surveying.
The original camera is unobstructed and all of the drone's obstacle avoidance sensors can remain enabled.
For this Dual 2 Camera Mount Setup Your Purchase Includes the Following:
(1) DJI Mavic 3 Camera Mount - Drone Collar
(2) DJI Mavic 3 Camera Mount - Survey3 Camera Frame
(2) DJI Mavic 3 Camera Mount - Camera Frame to Collar Adapter
The top mount options are as follows (choose either):
(1) DJI Mavic 3 Camera Mount - GPS Plate
(1) DAQ-A Mount DJI Mavic3
You will need to supply the Survey3 cameras, Advanced V2 GNSS receiver or DAQ, and camera cable(s) to use this mount. Cameras, GNSS, DAQ and cables are not included.
*Please note that we only recommend using the Advanced V2 GPS receiver, DAQ-A or DAQ-A-SD devices with this mount. The Standard GPS receiver may still work, but it is not as ideal as the Advanced V2 GNSS or DAQ-A.
*Please note that the DJI clear plastic protective cover for the Mavic 3 cameras is compatible with our DJI Mavic 3 mount.
Weight (no cameras, no GPS): 75g
Weight (with 2 cameras, with Advanced V2 GPS): 265g
Weight (with 2 cameras, with DAQ-A): 306g
Weight (with 2 cameras, with DAQ-A-SD): 309g
Weight (with 2 cameras, with 2 camera lens protectors, with Advanced V2 GPS): 280g (Recommended Configuration)
Weight (with 2 cameras, with 2 camera lens protectors, with DAQ-A): 321g (Recommended Configuration)
Weight (with 2 cameras, with 2 camera lens protectors, with DAQ-A-SD): 324g (Recommended Configuration)
MAPIR, Inc is in no way liable for any damage caused to or by your drone. We have thoroughly tested this mount and when installed properly will not interfere with the normal operation of the drone.
Install Instructions:
Step 1: Make sure the camera is in the default Interval timer capture mode if using the Advanced V2 GNSS. If using the DAQ-A leave Interval mode off.
Install the camera (with battery) by sliding it into the frame mount. Use the included black plastic camera bolt in the camera's tripod mounting hole to secure camera to mount.
Step 2: Slide the collar frame adapter into the collar, and slide the camera frame into the collar adapter. Attach the GPS plate or DAQ-A mount.


Step 3: Peel off the red adhesive backing on the bottom of the Advanced GPS receiver and attach to the DJI Mavic 3 Camera Mount - GPS Plate. MAPIR corn logo points forward as shown. The adhesive is very strong and typically one time use. If you need to replace it you should use 3M VHB clear or similar tape. The cables exit out the back of the GPS towards the rear of the vehicle.

Step 4: Unthread the black thumb knob on the collar, open the hinged top of the collar and place the drone into the collar. Notice which side the thumb knob is on and orient it the same.

Step 5: Check the mount is surrounding the bottom drone camera, then flip back over the hinged collar top and tighten to secure it to the vehicle. Make sure the two ends of the collar at the thumb knob are fully seated/touching.


Step 6: This mount can carry up to two Survey3 cameras, with one camera flipped over. Rotate the cameras such that when the drone is flying forward the camera is as parallel with the ground as possible (adjust angle based on expected flight speed tilt). Lock the rotation of the camera frames by tightening the set screws using the included hex key.

Step 7: Route the GPS wires along the frame mount side clips to keep the wires away from the propellers.


If using the DAQ-A mount there are convenient clips under the mount to hold the camera cables:


