Autel EVO II MAPIR Survey3
Dual Camera Mount
This mount allows you to easily attach multiple Survey3 cameras securely to an Autel EVO II drone while keeping the original drone camera installed (and unobstructed).
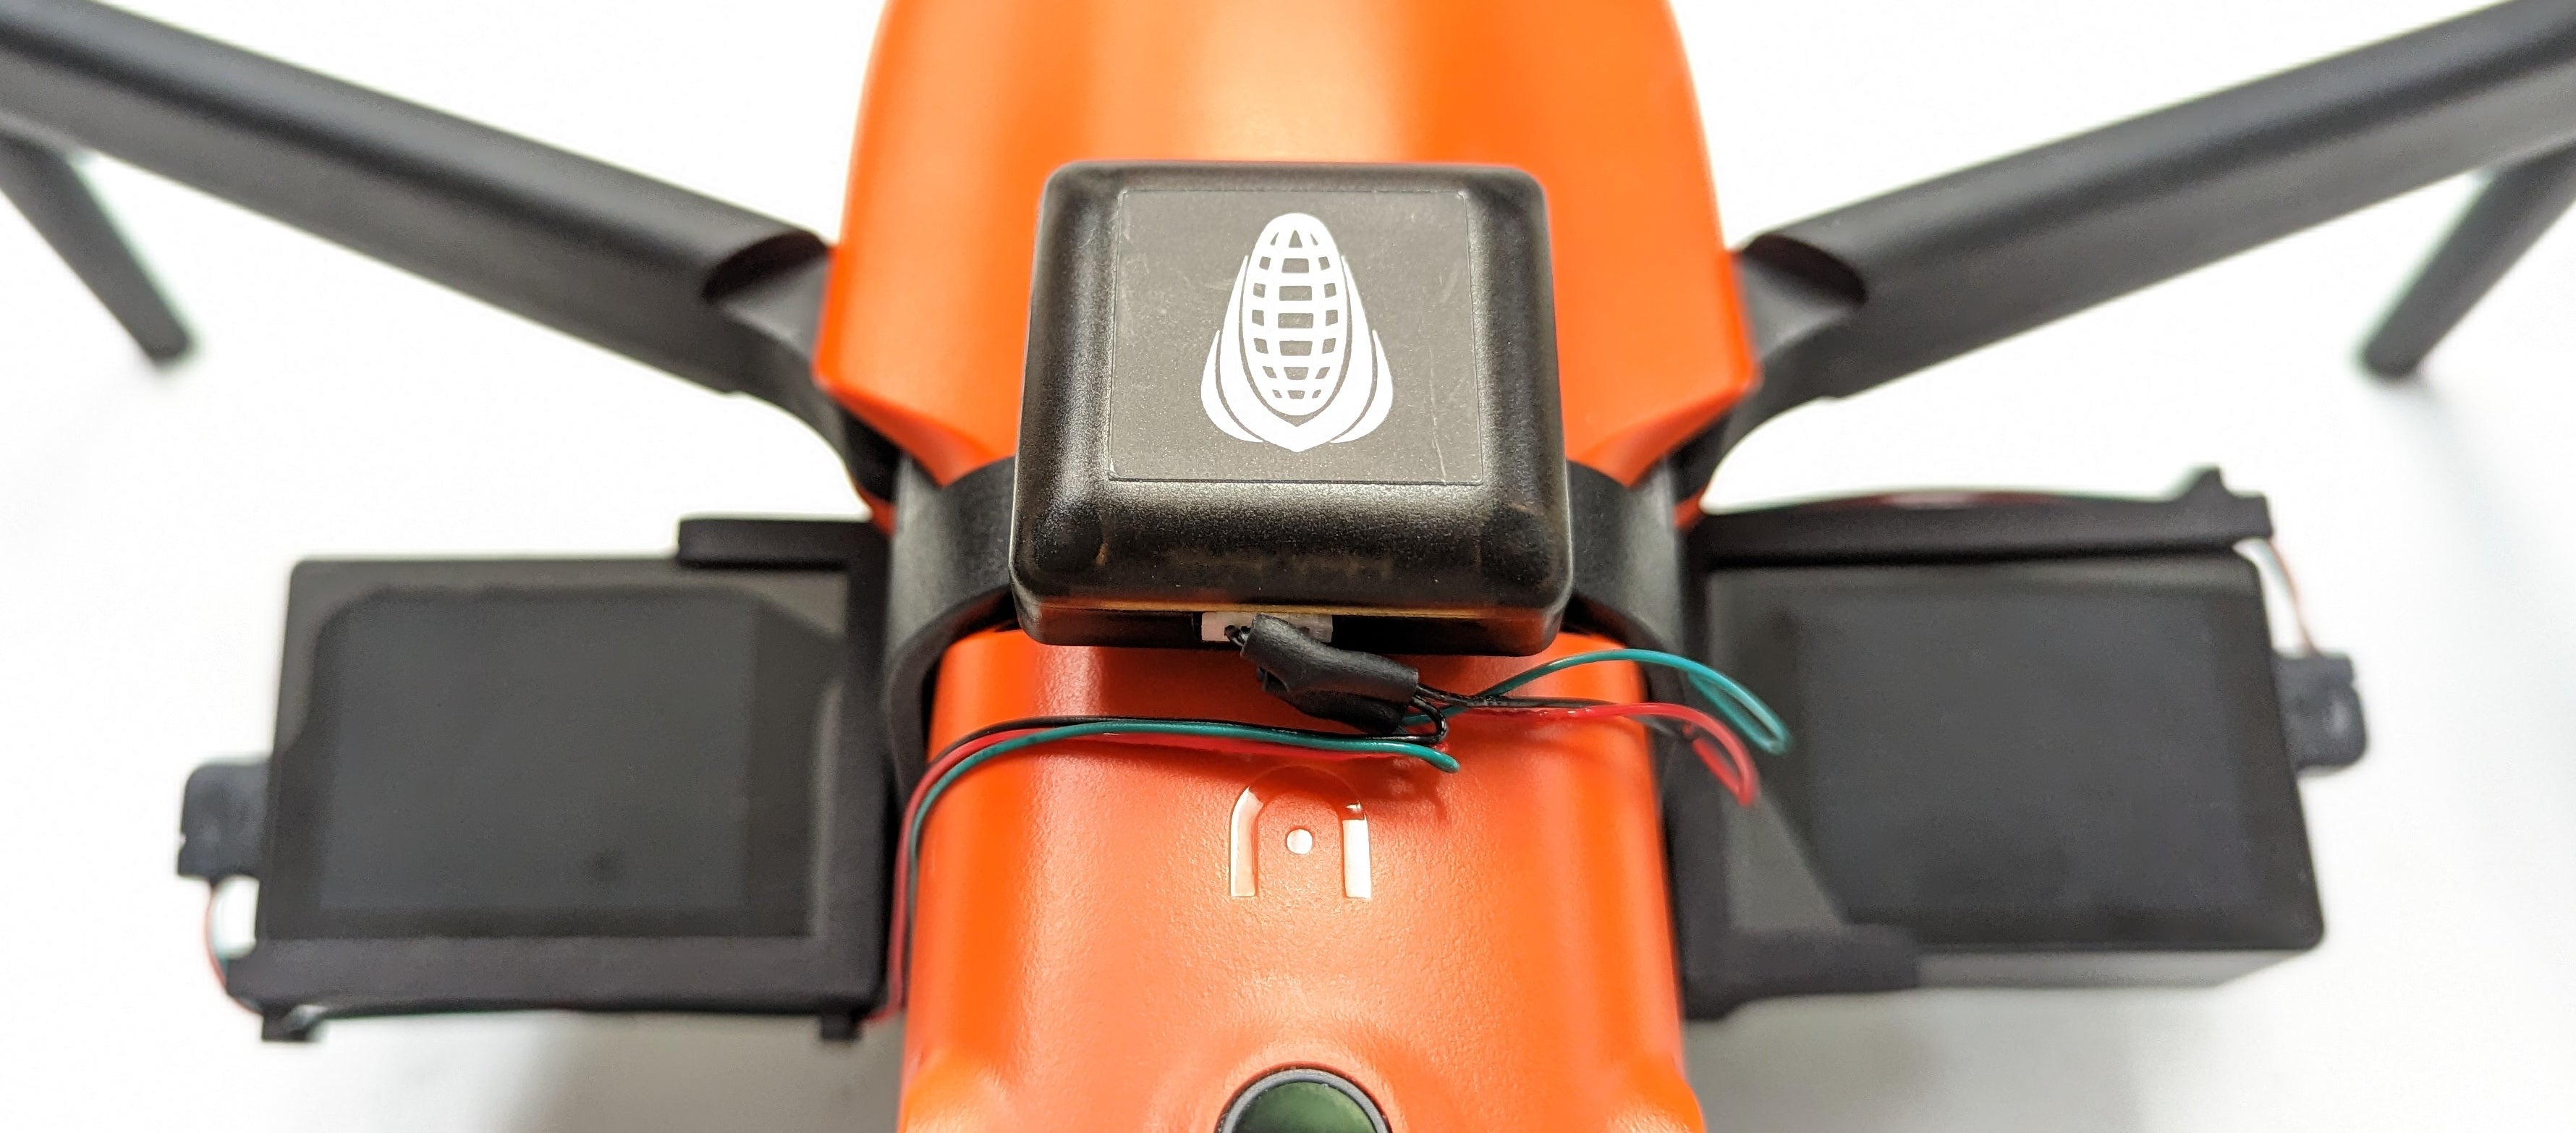
Its simple no-screw installation is thanks to the Foxfury Saddle Mount which allows you to attach up to 2 Survey3 cameras and accessories like the Advanced V2 GPS receiver. The bottom brace provides an even more secure lock for the mount and is highly recommended.
The camera mount allows you to rotate the camera to orient it nadir with the ground while flying forward.
The original camera is unobstructed and all of the drone's obstacle avoidance sensors can remain enabled.
For a Dual Camera Setup Your Purchase Includes the Following:
(2) Foxfury Autel EVO II Saddle - MAPIR Survey3 Saddle Frame Mount
(1) Foxfury Autel EVO II Saddle
(1) Foxfury Autel EVO II Saddle - Accessory/GPS Mount
(1) Foxfury Autel EVO II Saddle - Bottom Brace
You will need to supply the Survey3 cameras with an Advanced V2 GPS receiver (and cable) or DAQ-A-SD (and cables) to use this mount. Cameras, GPS, DAQ and cables are not included.
*Please note that we only recommend using the Advanced V2 GPS receiver or DAQ-A-SD with this mount. The Standard GPS receiver may still work, but it is not as ideal as the Advanced V2 GPS or DAQ-A-SD.
*Please note that the Autel clear plastic protective cover for the EVOII cameras is compatible with our Autel EVOII mount.
Included With Foxfury Autel EVO II Saddle - MAPIR Survey3 Saddle Frame Mount:
(1) Durable & lightweight plastic camera holder
(1) Black plastic bolt to attach camera to mount
Links to Mount Items:
Foxfury Autel EVO II Saddle - MAPIR Survey3 Saddle Frame Mount
Foxfury Autel EVO II Saddle - Accessory/GPS Mount
Foxfury Autel EVO II Saddle - Bottom Brace
MAPIR, Inc is in no way liable for any damage caused to or by your drone. We have thoroughly tested this mount and when installed properly will not interfere with the normal operation of the drone.
Install Instructions:
Step 1: Make sure the camera is in the default Interval timer capture mode. Install the camera (with battery) by sliding it into the frame mount. Use the included black plastic camera bolt in the camera's tripod mounting hole to secure camera to mount.

Step 2: Place the Foxfury saddle mount as shown on the Autel EVO II vehicle, there are no screws holding it on.


Step 3: Snap the bottom brace into place. The bottom brace is not required but highly recommended to provide the best fit of the saddle onto the vehicle when carrying an additional payload (cameras).

Step 4: Peel off the red adhesive backing on the bottom of the Advanced V2 GPS receiver and attach to the Foxfury Autel EVO II Saddle - Accessory/GPS Mount.
Step 5: Slide the GPS onto the top saddle mounting location making sure to rotate it so the corn logo points forward. The adhesive is very strong and typically one time use. If you need to replace it you should use 3M VHB clear or similar tape if possible. The cables exit out the back of the GPS towards the rear of the vehicle.
Step 6: Slide the camera onto the front side mounting locations on the saddle. The saddle can carry 2 Survey3 cameras, with one camera flipped over. Rotate the cameras such that when the drone is flying forward the camera is as parallel with the ground as possible (adjust angle based on expected flight speed).
Step 7: Plug the GPS USB cables into the cameras and route the GPS wires along the frame mount side clips to keep the wires away from the propellers.


