


Autel EVO MAPIR Survey3
Single Camera Mount
This mount allows you to easily attach a Survey3 camera securely to a Autel Evo drone while keeping the original drone camera installed (and unobstructed). Its simple four screw installation makes it easy to remove and transport.
While the original RGB camera can be used with this mount, during flying where the camera is looking forward you will see the Survey3 camera in part of the image. You can still fly as needed, but this mount has been designed for use when surveying and the RGB camera is pointed towards the ground.
Please make sure to turn off the drone's front obstacle avoidance setting in the applications prior to using, as the mount covers the front cameras and will result in abnormal flight characteristics if left enabled.
*Please note that we only recommend using the Advanced GPS receiver with this mount due to the close proximity of the GPS plug on the camera to the front propeller. The Standard GPS receiver may still work, but it is not as ideal as the Advanced GPS.
*Please note that the Autel opaque plastic protective cover for the EVO RGB camera is compatible with our Autel EVO mount.

Included:
(1) Durable & lightweight plastic camera holder
(1) Black plastic bolt to attach camera to mount
(4) Extended Autel EVO drone screws (replaces existing Autel screws) (recommend purchasing extras)
(1) GPS cable tie
Weight (Camera+GPS+Mount): ?
MAPIR, Inc is in no way liable for any damage caused to or by your drone. We have thoroughly tested this mount and when installed properly will not interfere with the normal operation of the drone.
Install Instructions:
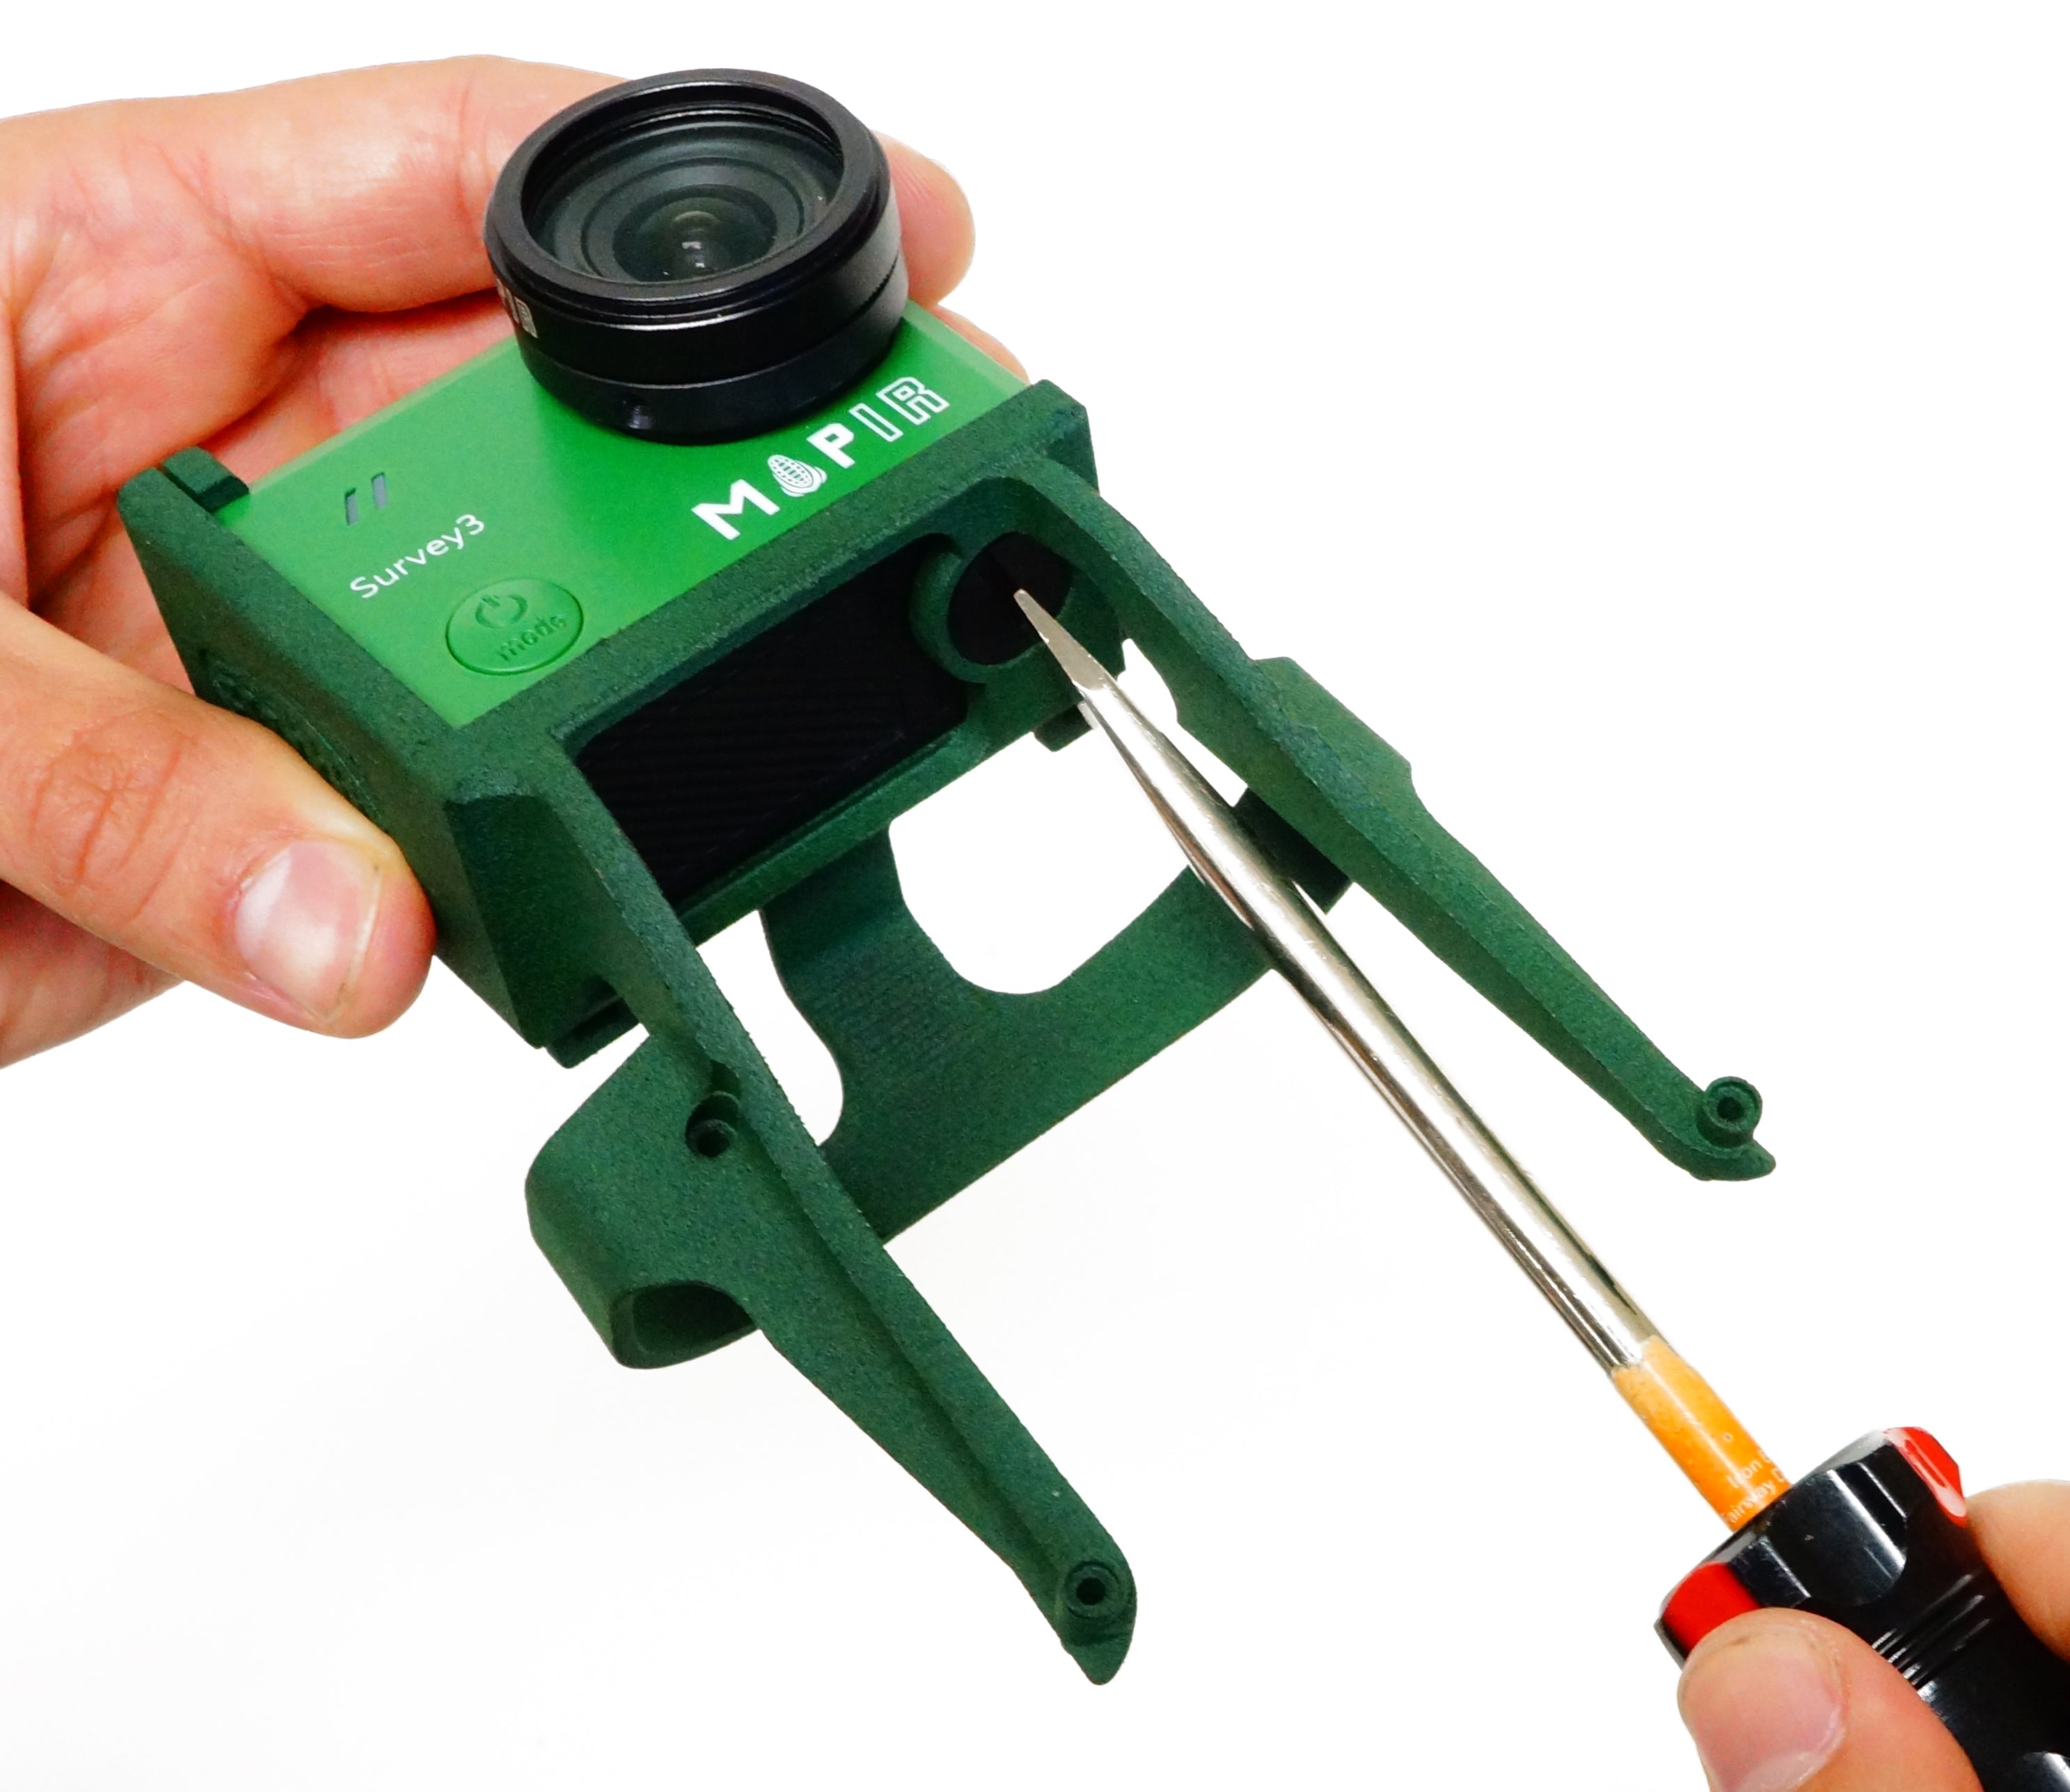
Step 1: Make sure the camera is in the default Interval timer capture mode. Install the camera (with battery) by sliding it into the mount. Use the included black plastic camera bolt in the camera's tripod mounting hole to secure camera to mount.
Step 2: Unscrew the original Autel screws in the 4 locations marked below (in blue) with a (not included) T7 torx tool:

Step 3: Place the mount as shown and tighten the four screws included with the mount. The screw holes have pegs that will snap into place.

Step 3: Peel off the red adhesive backing on the bottom of the GPS receiver and attach to the top of the mount (corn logo pointing forward), such that the GPS is centered with the drone as much as possible. The adhesive is very strong and typically one time use. If you need to replace it you should use 3M VHB clear or similar tape if possible. The cables exiting out the back of the GPS should be bent 90 degrees straight upward/sideways and against the mount.

Step 4: Plug the GPS USB plug into the GPS port on the camera, located closest to the SD card slot. Loop the GPS wires to make them smaller. Use the included cable tie (zip-tie) to secure the coiled GPS cables to the green plastic cable loop on the top corner of the mount. Secure the cables so that they have a low chance of coming out from under the mount. Cut off the end of the cable tie.

Step 5: Your camera, GPS and mount are now installed. Happy flying.


