
Autel EVO II Survey3 Bundle
This discounted bundle has everything you'll need to use 1 or 2 Survey3 multispectral cameras with the Autel EVO II (V1,V2,V3) drone.
The mount allows you to easily attach either 1 or 2 Survey3 cameras at a time without requiring any tools. Each camera can be easily rotated to adjust the tilt angle to keep the camera as parallel (nadir) with the ground during forward flight.
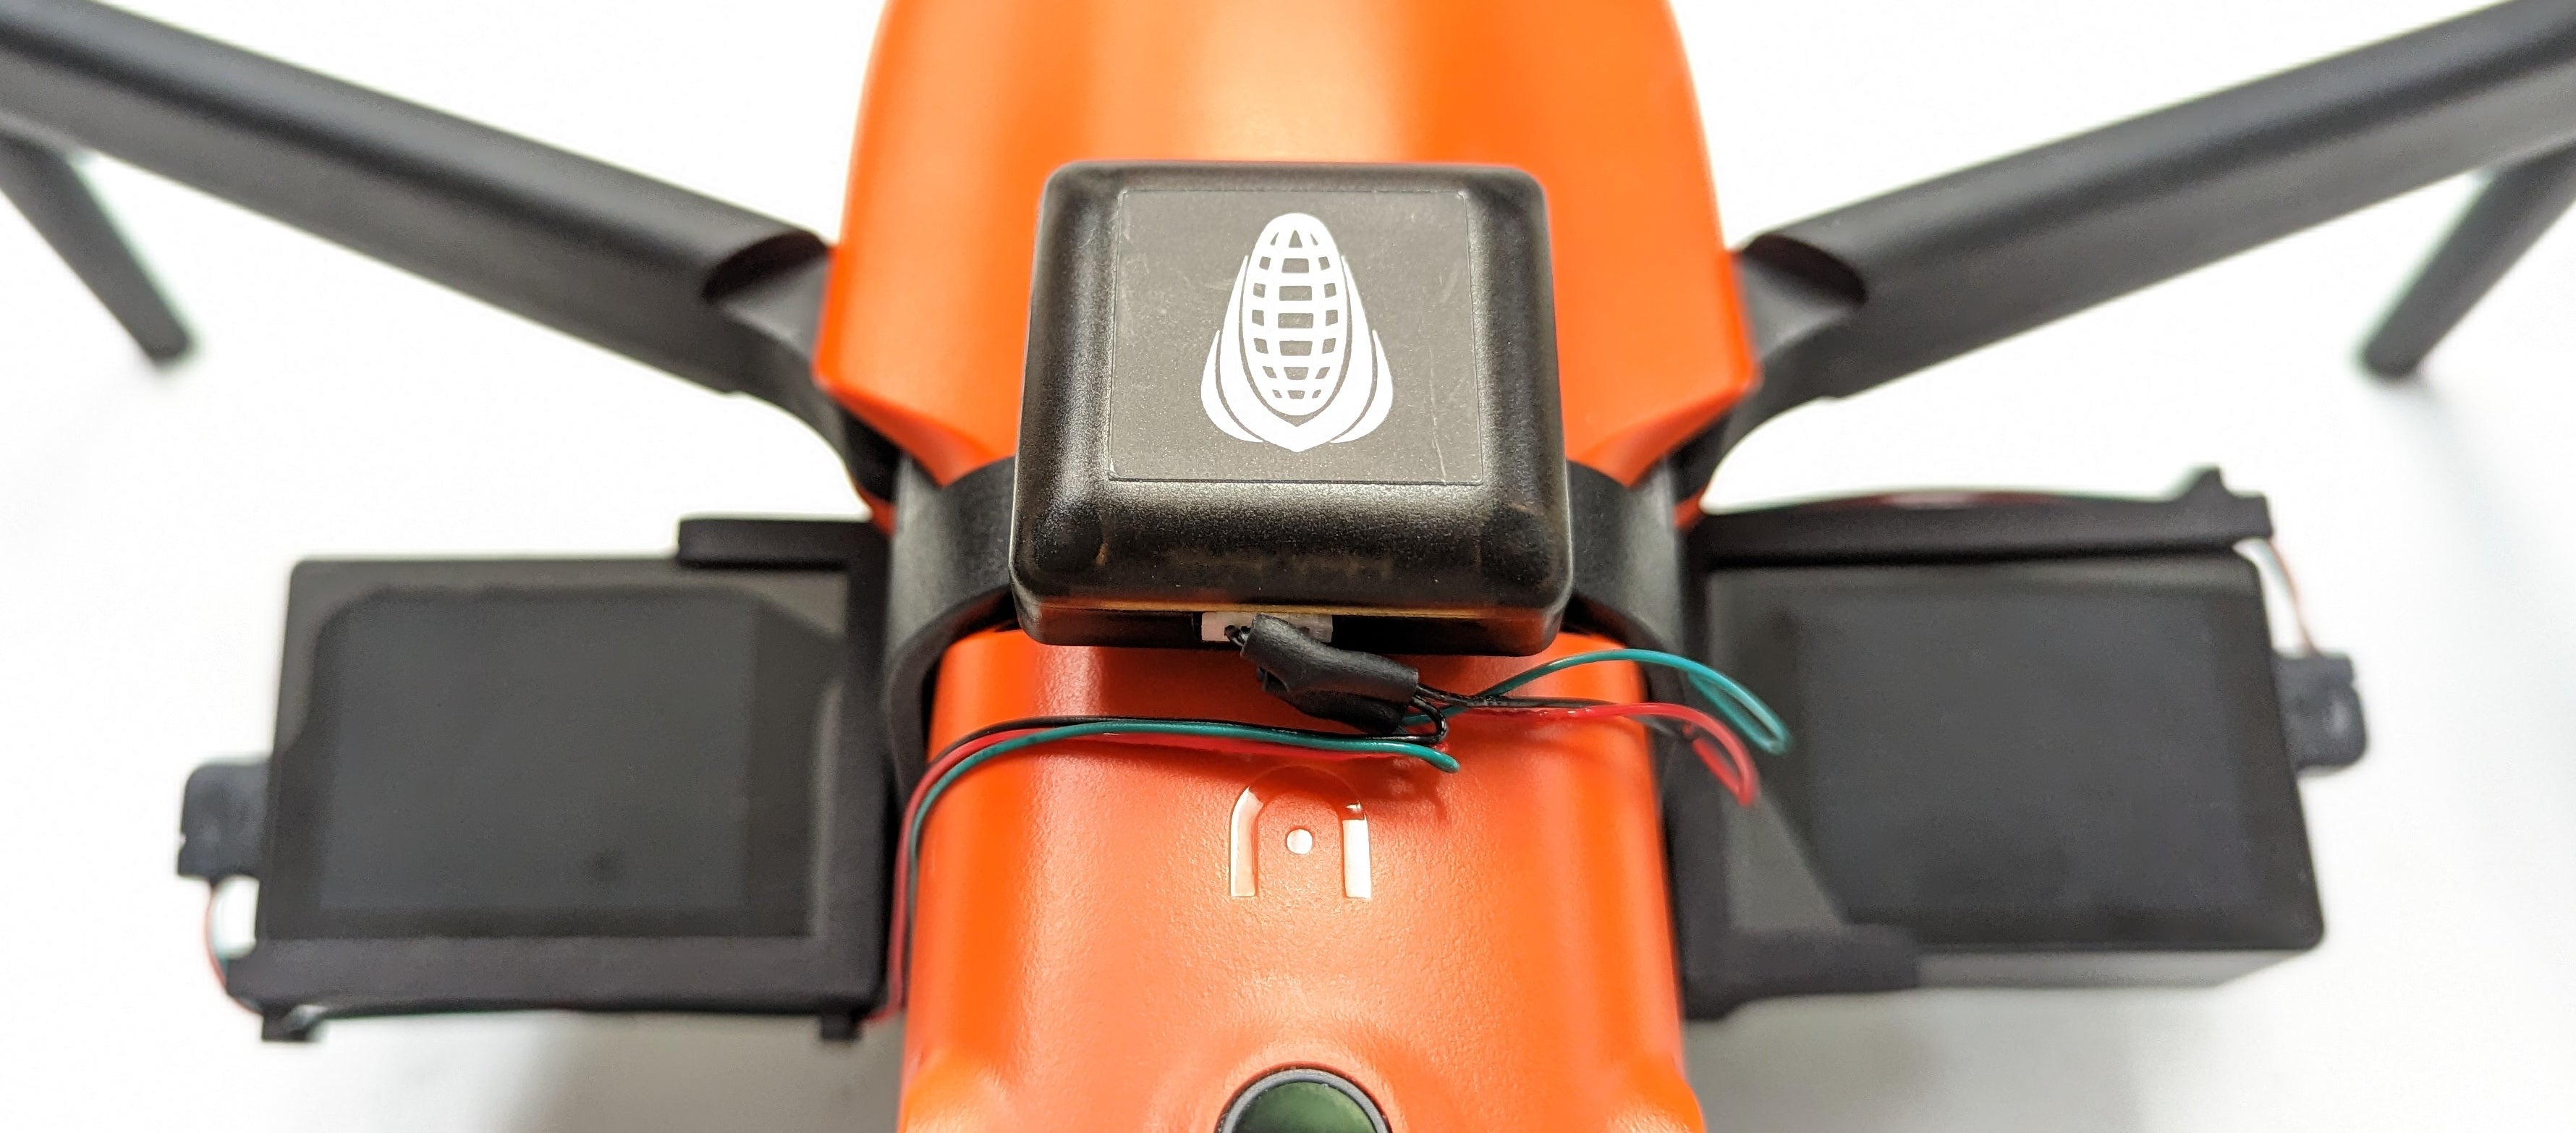
The camera's GNSS (GPS) is mounted on the top of the drone, and will include a dual camera cable if you purchase the dual camera bundle. We recommend the DAQ-A-SD light sensor, which contains the GNSS for the best results.
Simply choose the model of the camera(s), GNSS (or DAQ) and the camera memory card capacities to complete your package.

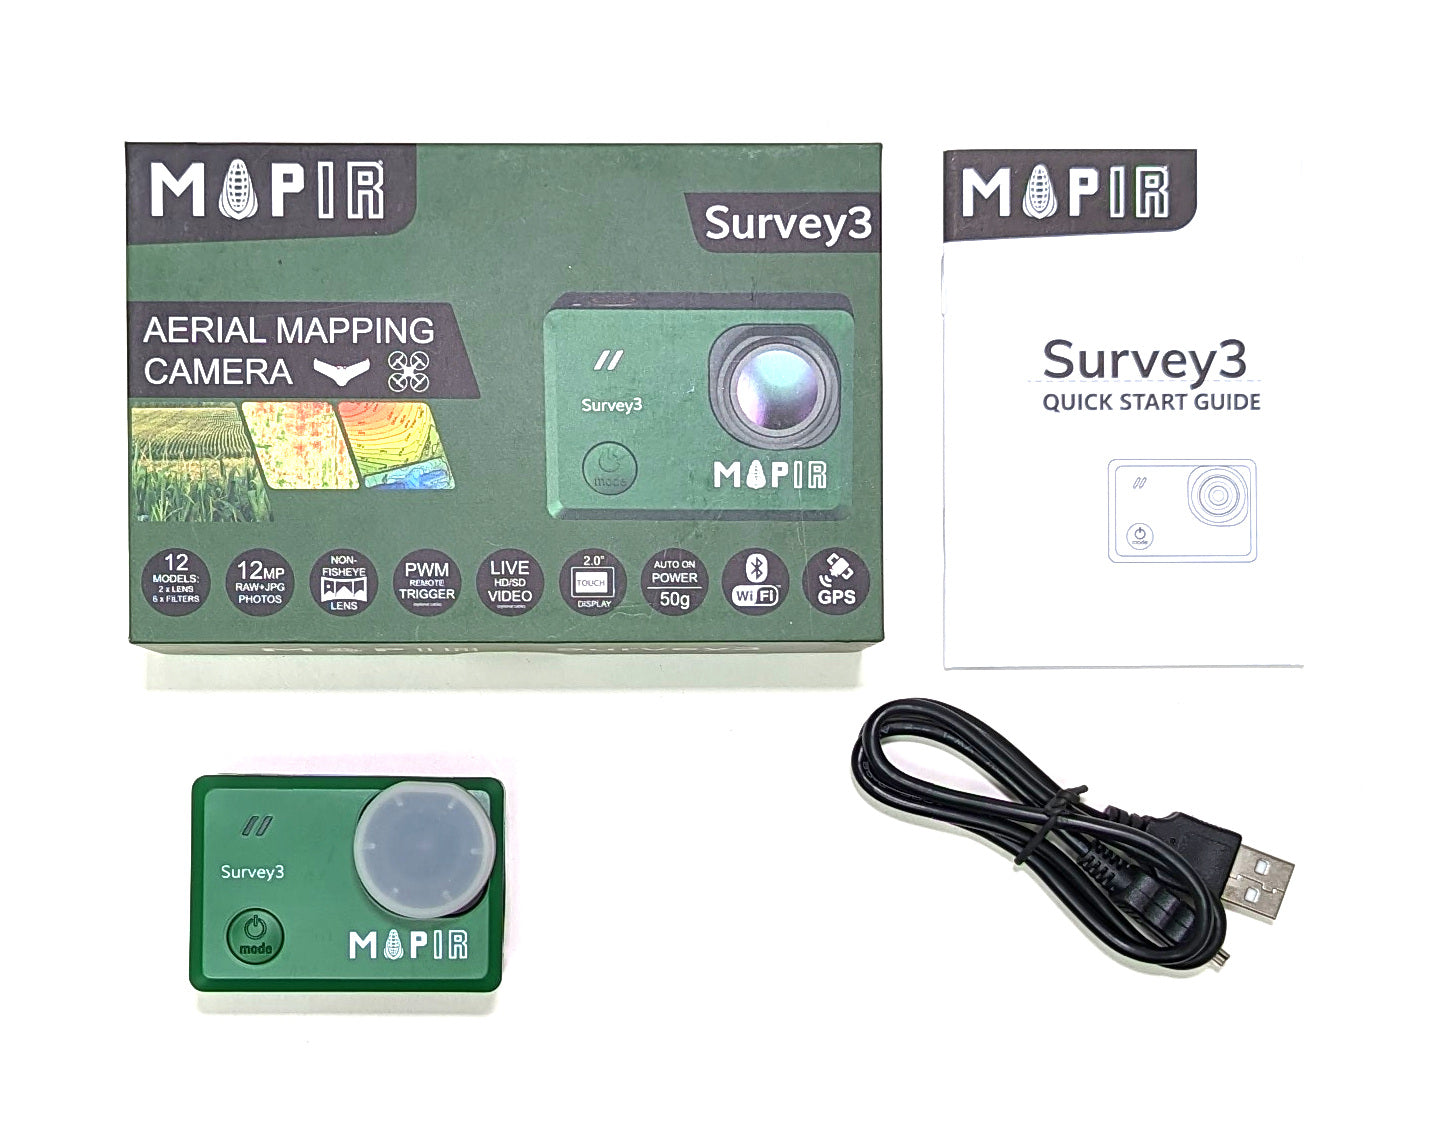
Included in a single (1) Autel EVO II Survey3 camera bundle:
- (1) Survey3 Camera
- (1) Survey3 Glass Lens Protector
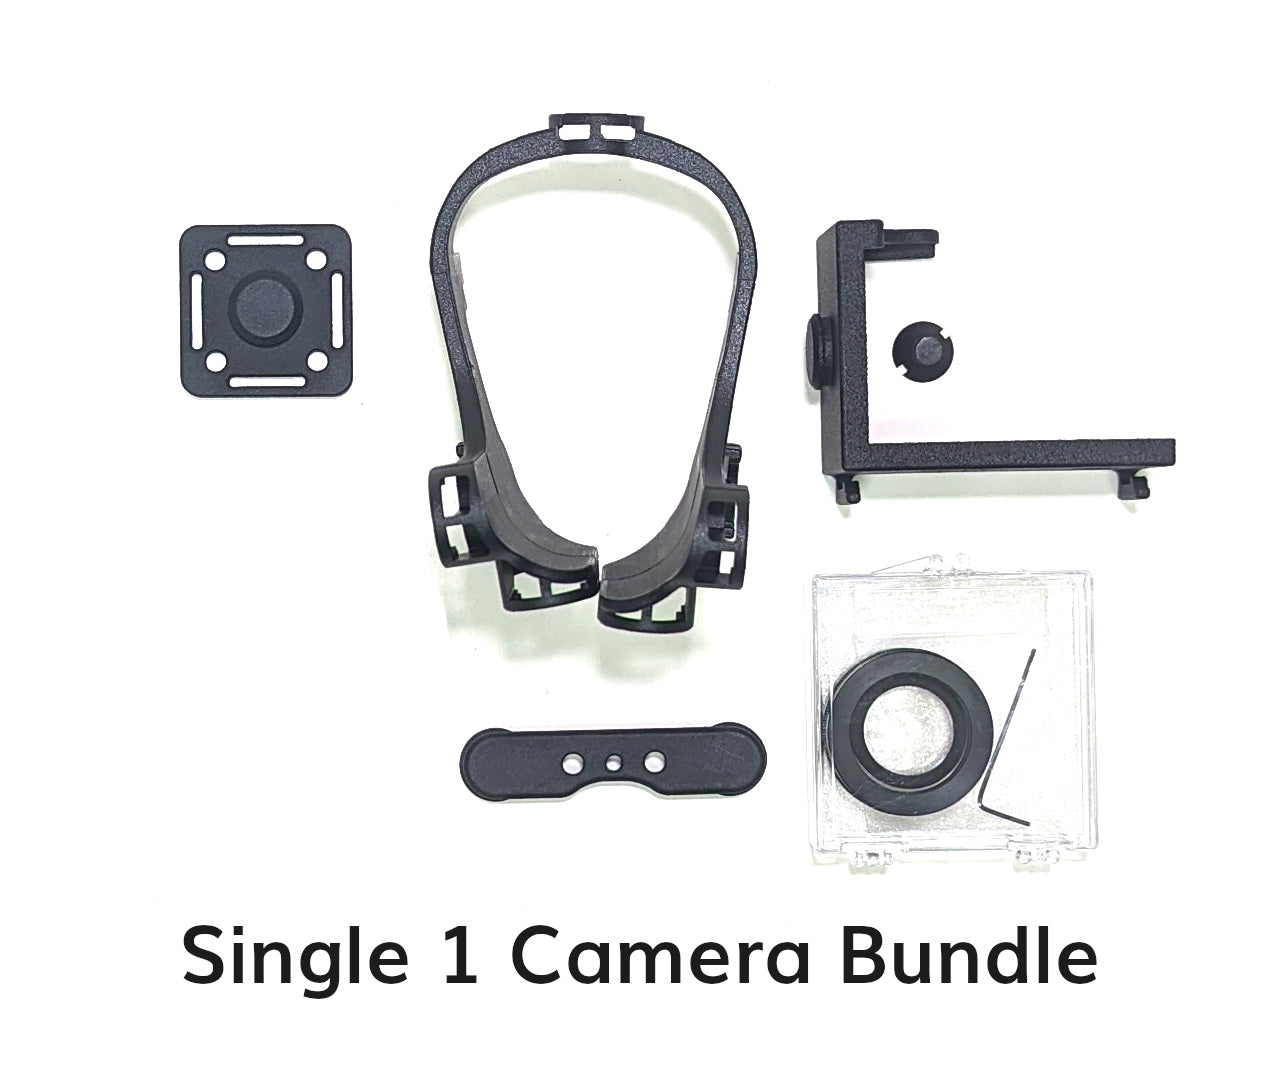
- (1) Autel EVO II MAPIR Survey3 Single Camera Mount
- (1) Diffuse Reflectance Standard Calibration Target Package
- (1) MicroSD card (if selected)
The following is included with the Autel EVO II MAPIR Survey3 Single Camera Mount:
- (1) Foxfury Autel EVO II Saddle - MAPIR Survey3 Saddle Frame Mount
- (1) Foxfury Autel EVO II Saddle
- (1) Foxfury Autel EVO II Saddle - Bottom Brace
Included in a dual (2) Autel EVO II Survey3 camera bundle:
- (2) Survey3 Cameras
- (2) Survey3 Glass Lens Protector
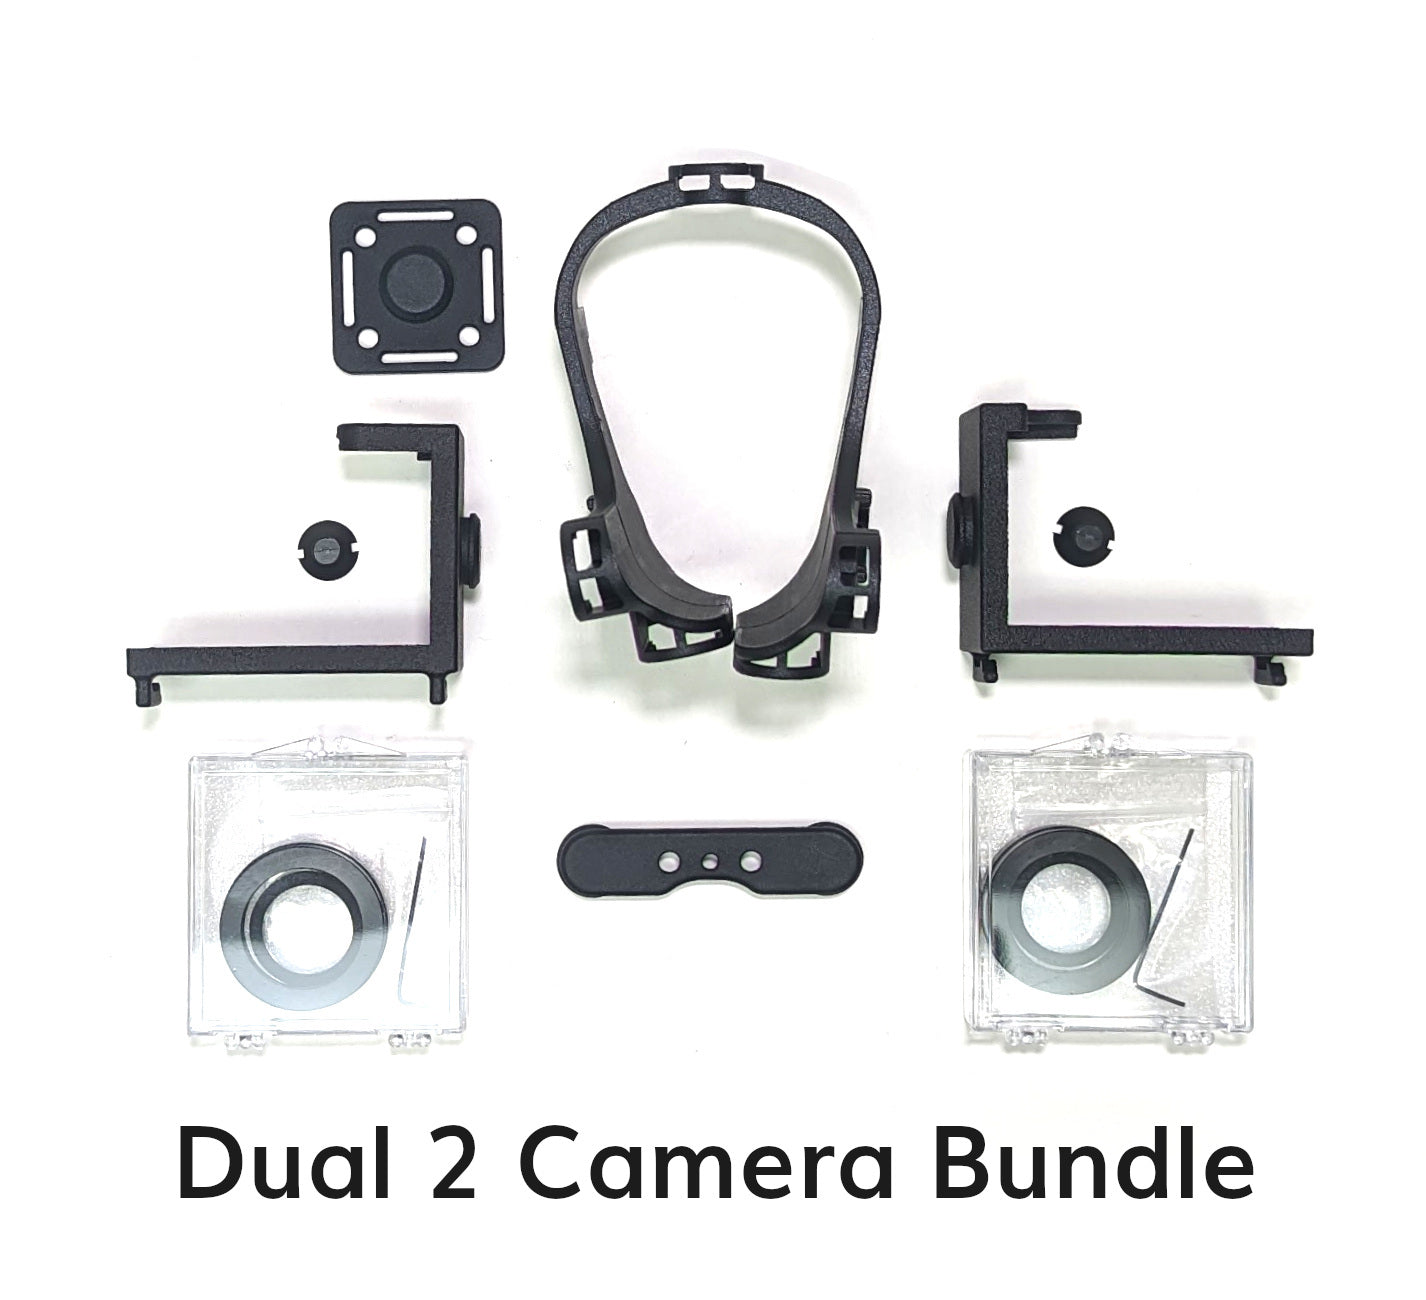
- (1) Autel EVO II MAPIR Survey3 Dual Camera Mount
- (1) Diffuse Reflectance Standard Calibration Target Package
- (2) MicroSD cards (if selected)
The following is included with the Autel EVO II MAPIR Survey3 Dual Camera Mount:
- (2) Foxfury Autel EVO II Saddle - MAPIR Survey3 Saddle Frame Mount
- (1) Foxfury Autel EVO II Saddle
- (1) Foxfury Autel EVO II Saddle - Bottom Brace
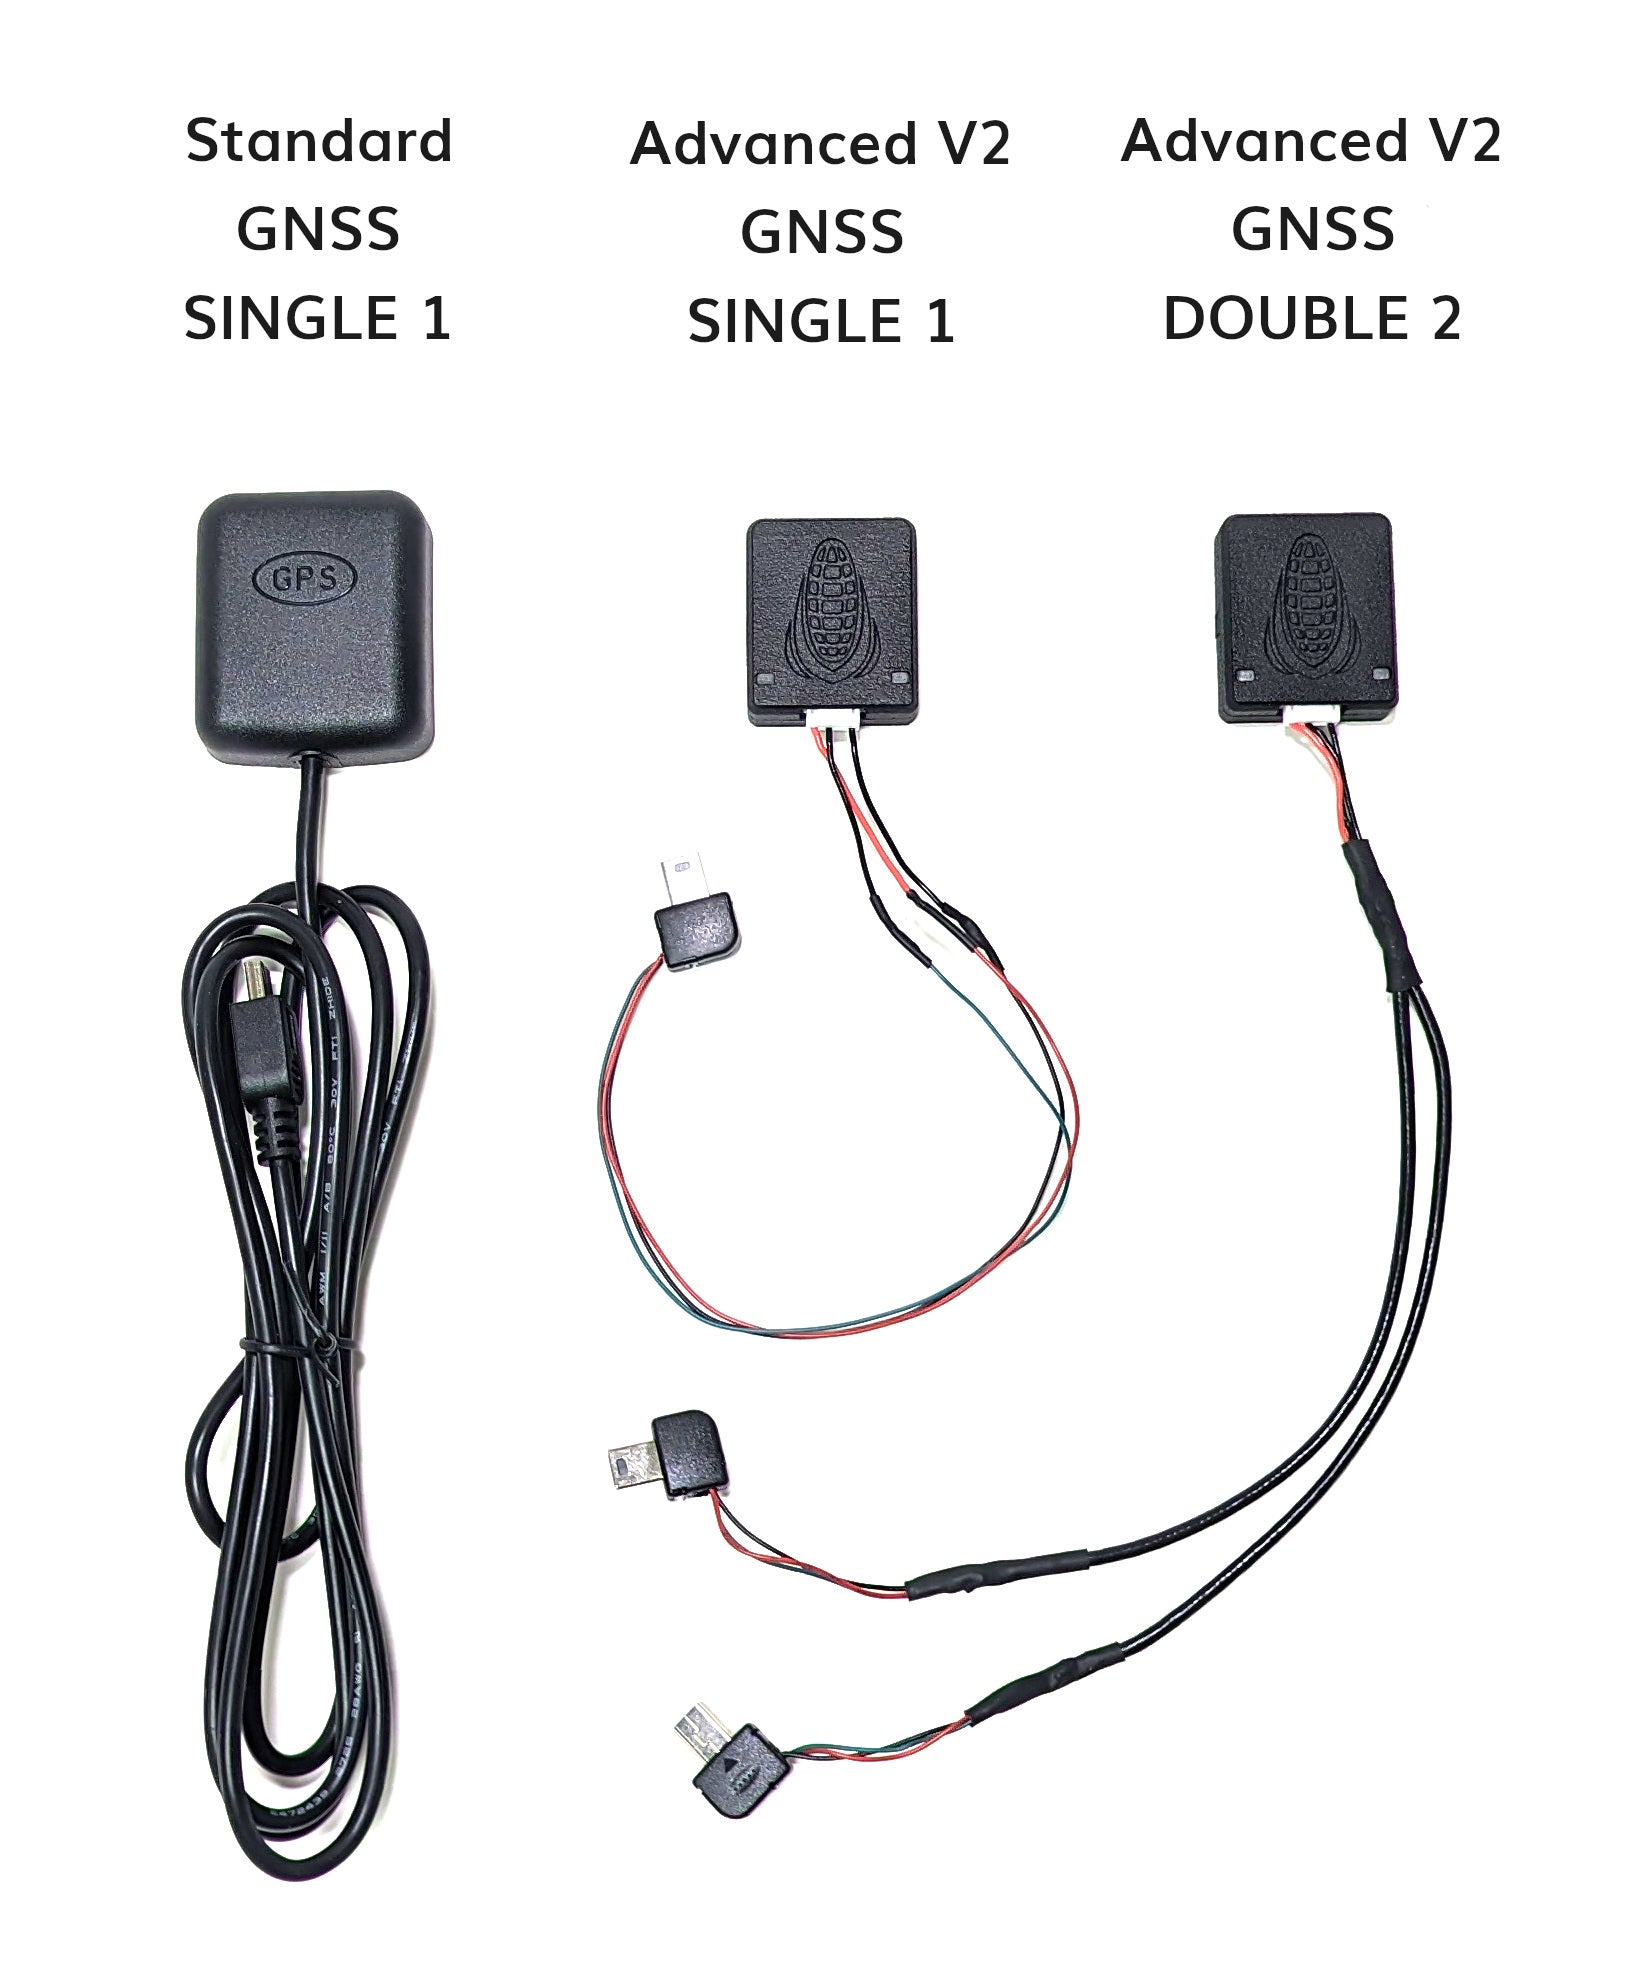
GNSS or DAQ (light sensor) Options:
Single Camera - Advanced V2 GNSS:
- (1) Foxfury Autel EVO II Saddle - Accessory/GPS Mount
- (1) Advanced V2 GNSS - Single 1 Camera Cable 1pc (8in)
Dual Camera - Advanced V2 GNSS:
- (1) Foxfury Autel EVO II Saddle - Accessory/GPS Mount
- (1) Advanced V2 GNSS - Dual 2 Camera Cable 1pc (8in)
Single Camera - DAQ-A and DAQ-A-SD:
- (1) Foxfury Autel EVO II Saddle - Accessory/GPS Mount
- (1) DAQ-A Survey3 Camera Cable - Power to DAQ - 10in (25cm)
Dual Camera - DAQ-A and DAQ-A-SD
- (1) Foxfury Autel EVO II Saddle - Accessory/GPS Mount
- (2) DAQ-A Survey3 Camera Cable - Power to DAQ - 10in (25cm)
Install Instructions:
Step 1: Make sure the camera is in the default Interval timer capture mode. Install the camera (with battery) by sliding it into the frame mount. Use the included black plastic camera bolt in the camera's tripod mounting hole to secure camera to mount.

Step 2: Place the Foxfury saddle mount as shown on the Autel EVO II vehicle, there are no screws holding it on.


Step 3: Snap the bottom brace into place. The bottom brace is not required but highly recommended to provide the best fit of the saddle onto the vehicle when carrying an additional payload (cameras).

Step 4: Peel off the red adhesive backing on the bottom of the Advanced GPS receiver and attach to the Foxfury Autel EVO II Saddle - Accessory/GPS Mount.

Step 5: Slide the GPS onto the top saddle mounting location making sure to rotate it so the corn logo points forward. The adhesive is very strong and typically one time use. If you need to replace it you should use 3M VHB clear or similar tape if possible. The cables exit out the back of the GPS towards the rear of the vehicle.

Step 6: Slide the camera onto the front side mounting locations on the saddle. The saddle can carry 2 Survey3 cameras, with one camera flipped over. Rotate the cameras such that when the drone is flying forward the camera is as parallel with the ground as possible (adjust angle based on expected flight speed).


Step 7: Plug the GPS USB cables into the cameras and route the GPS wires along the frame mount side clips to keep the wires away from the propellers.